Table of Contents
How to use Previs scenes inside the Director
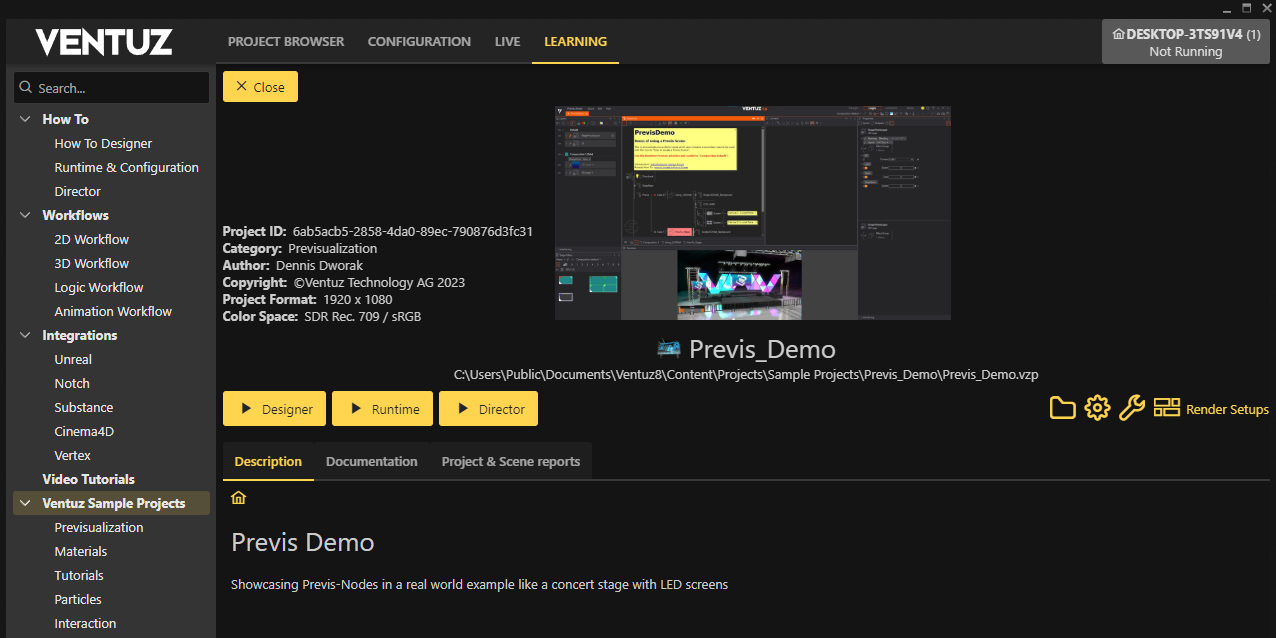
In this How to you will learn how you can use Previs scenes inside the Director to have it inside your Preview and Program view. To follow along you can use the free demo project (Previs_Demo) we provide in our launcher in the learning tab.
First steps
In order to use the Previs scene inside the Director we need to make the Previs scene part of the Layout scene. To do so open up the the demo project inside the Designer and open the PrevisDemo.vzs. Turning this into a layout scene will need some minor changes.
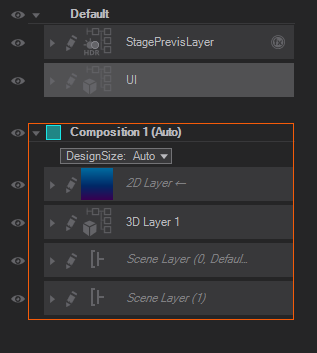
First add two scene layer to Composition1, this is needed so the Director actually has channels to use. In this case we are preparing for a Dual channel show.
Save the scene under a new name e.g: PrevisDemo_Layout.
Now we can add it to the ProjectProperties. Had to the Layout tab and hit New.
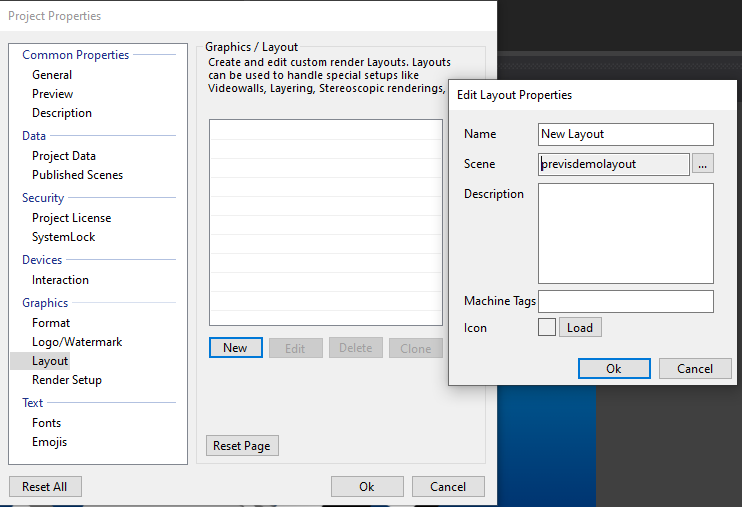
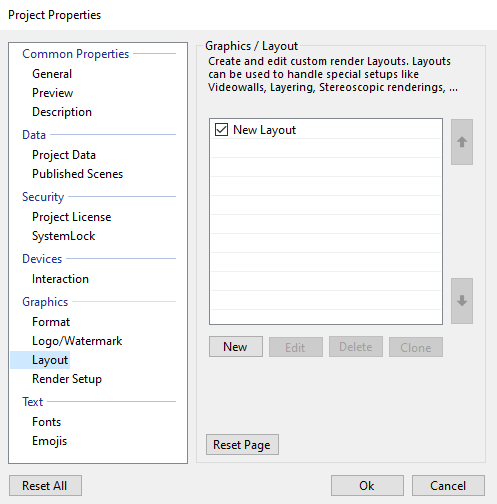
Add your Previs layout scene, name the layout scene if you want and click Ok. After that make sure to set the checkmark on the newly created layout scene on the left so the Designer actually uses it.
This is now all done, we can close the Designer and start working on the configuration.
Setting up the configuration
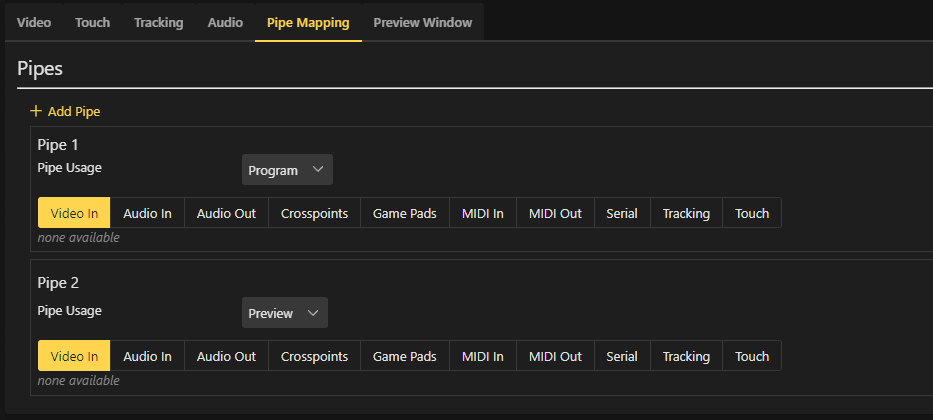
Open up the configuration editor and create a new Device configuration. In there we will first go over to the Pipe Mapping and add two pipes. Assign the first to Program and the second to Preview like shown in the picture.
Now we can add our video outputs. Add two shared surfaces, called off screen. And one GPU output. Make sure to open these up and assign the output pipes as shown below.
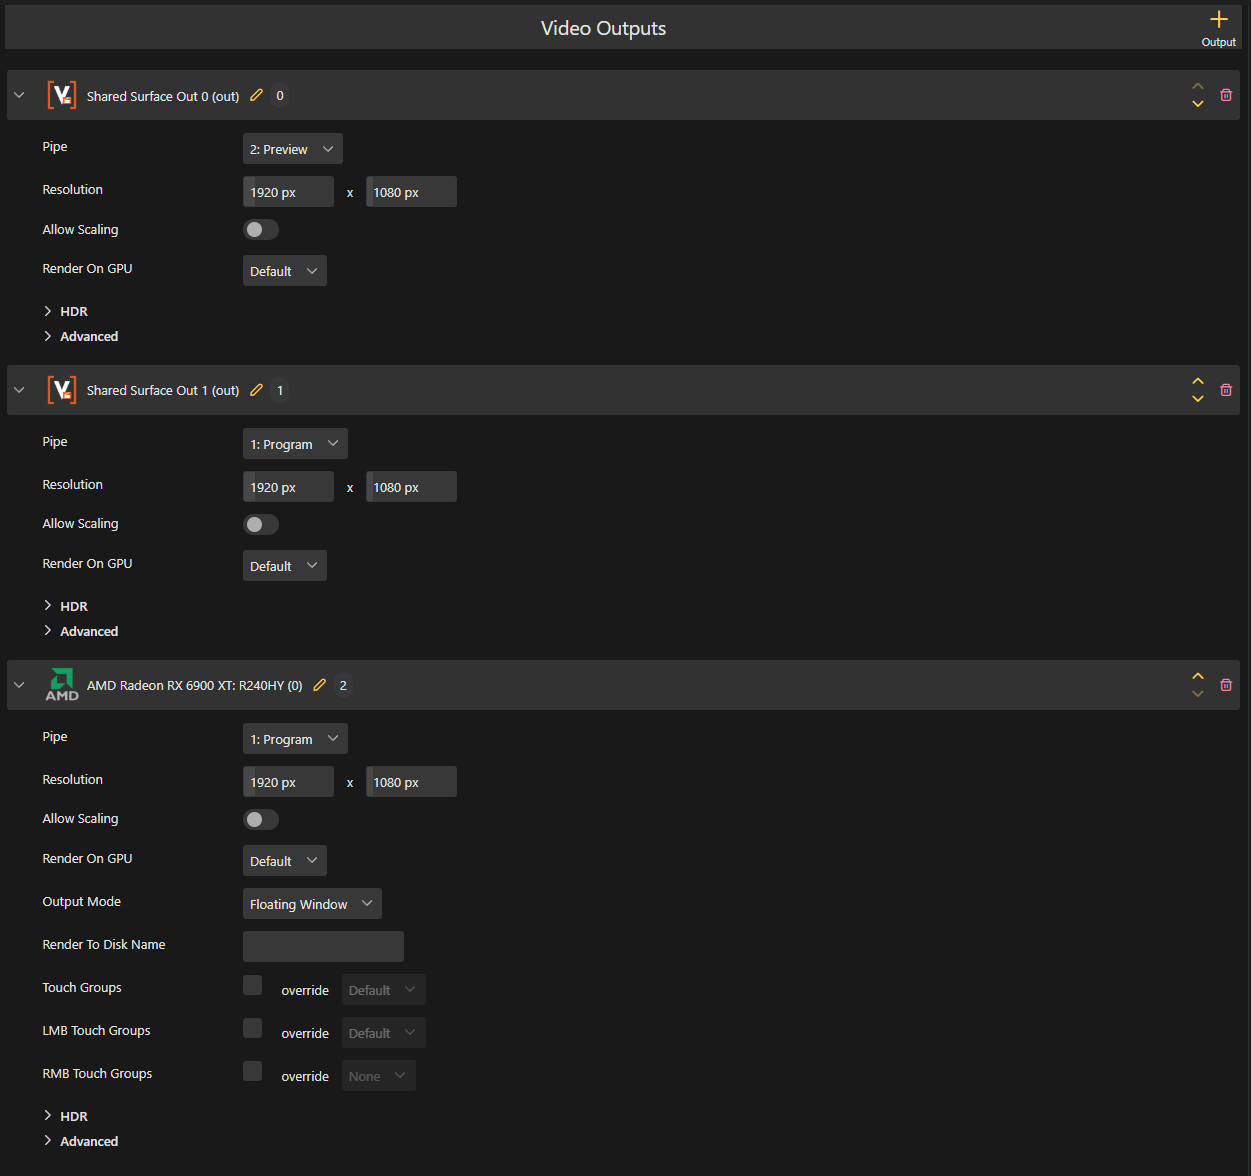
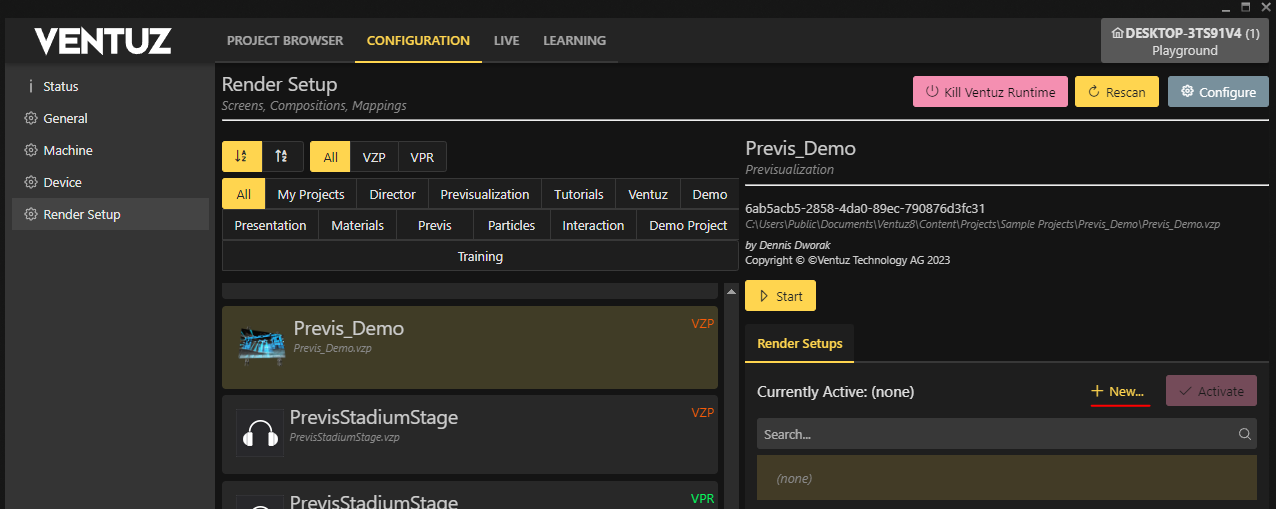
The order of the outputs is very important because of how the Director handles pipes, this will be explained a bit later. For now lets move on and create the last configuration we need, the Render Setup. The created device configuration can be saved and activated. Head over to the Render Setup section, look for the PrevisDemo project and create a new Render Setup.
In there we need to link the previs layout scene we just created.
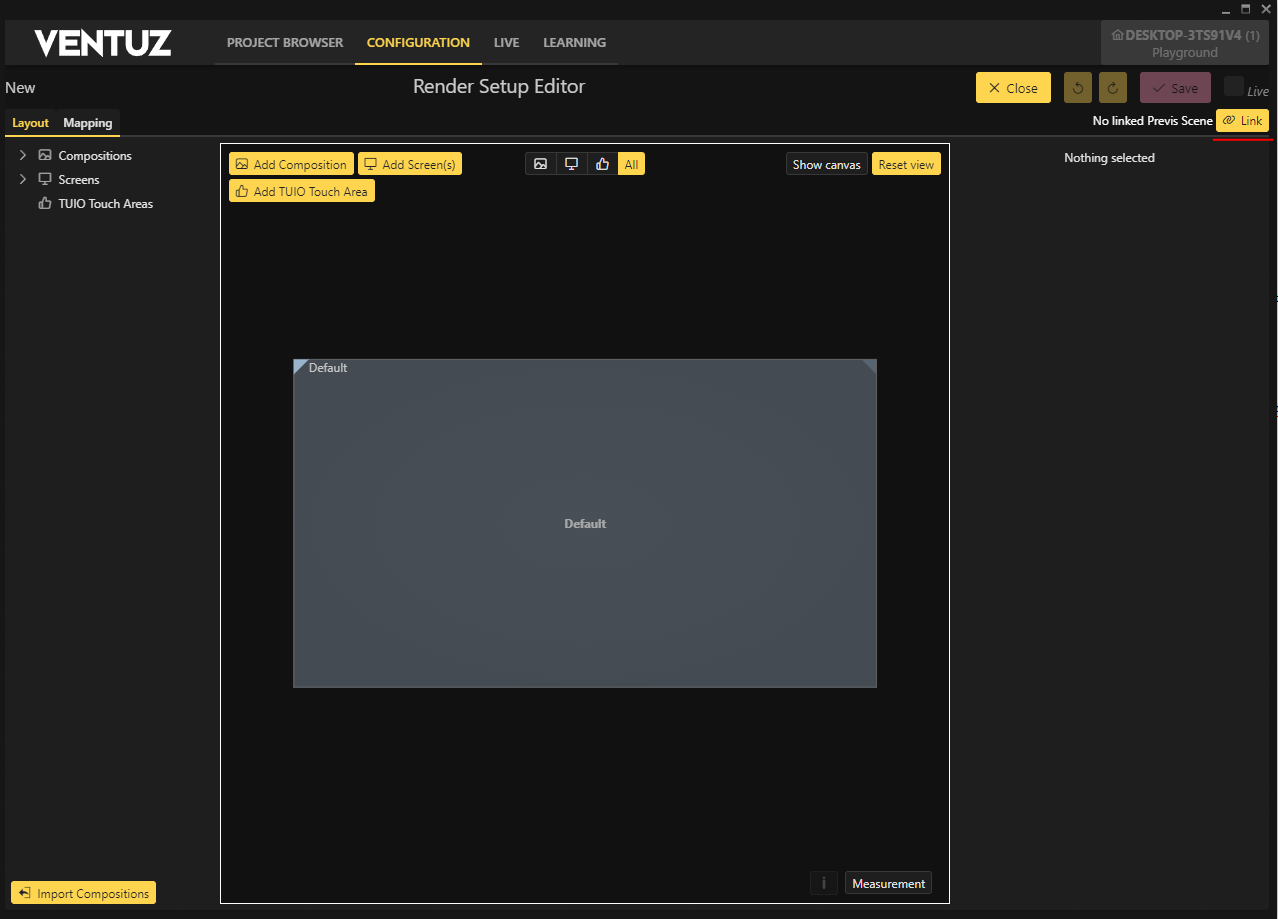
Select the layout scene we saved and click Ok. This will bring you directly to the Mapping mode and lock the Layout mode. Here we will create one new manual output and assign the previs screen to the first output, the rest of the screens can go onto the second output. You can puzzle these together however you want. Normally this needs to be placed correctly depending on your screen setup where the real output should go to. But since this is only a small example we will just arrange them however we want.
Now we are all set up to use our Previs inside the Director. But before we go into the Director i will explain how the Director handles the pipes and why the position of the outputs was so important in the Device configuration and the Render Setup.
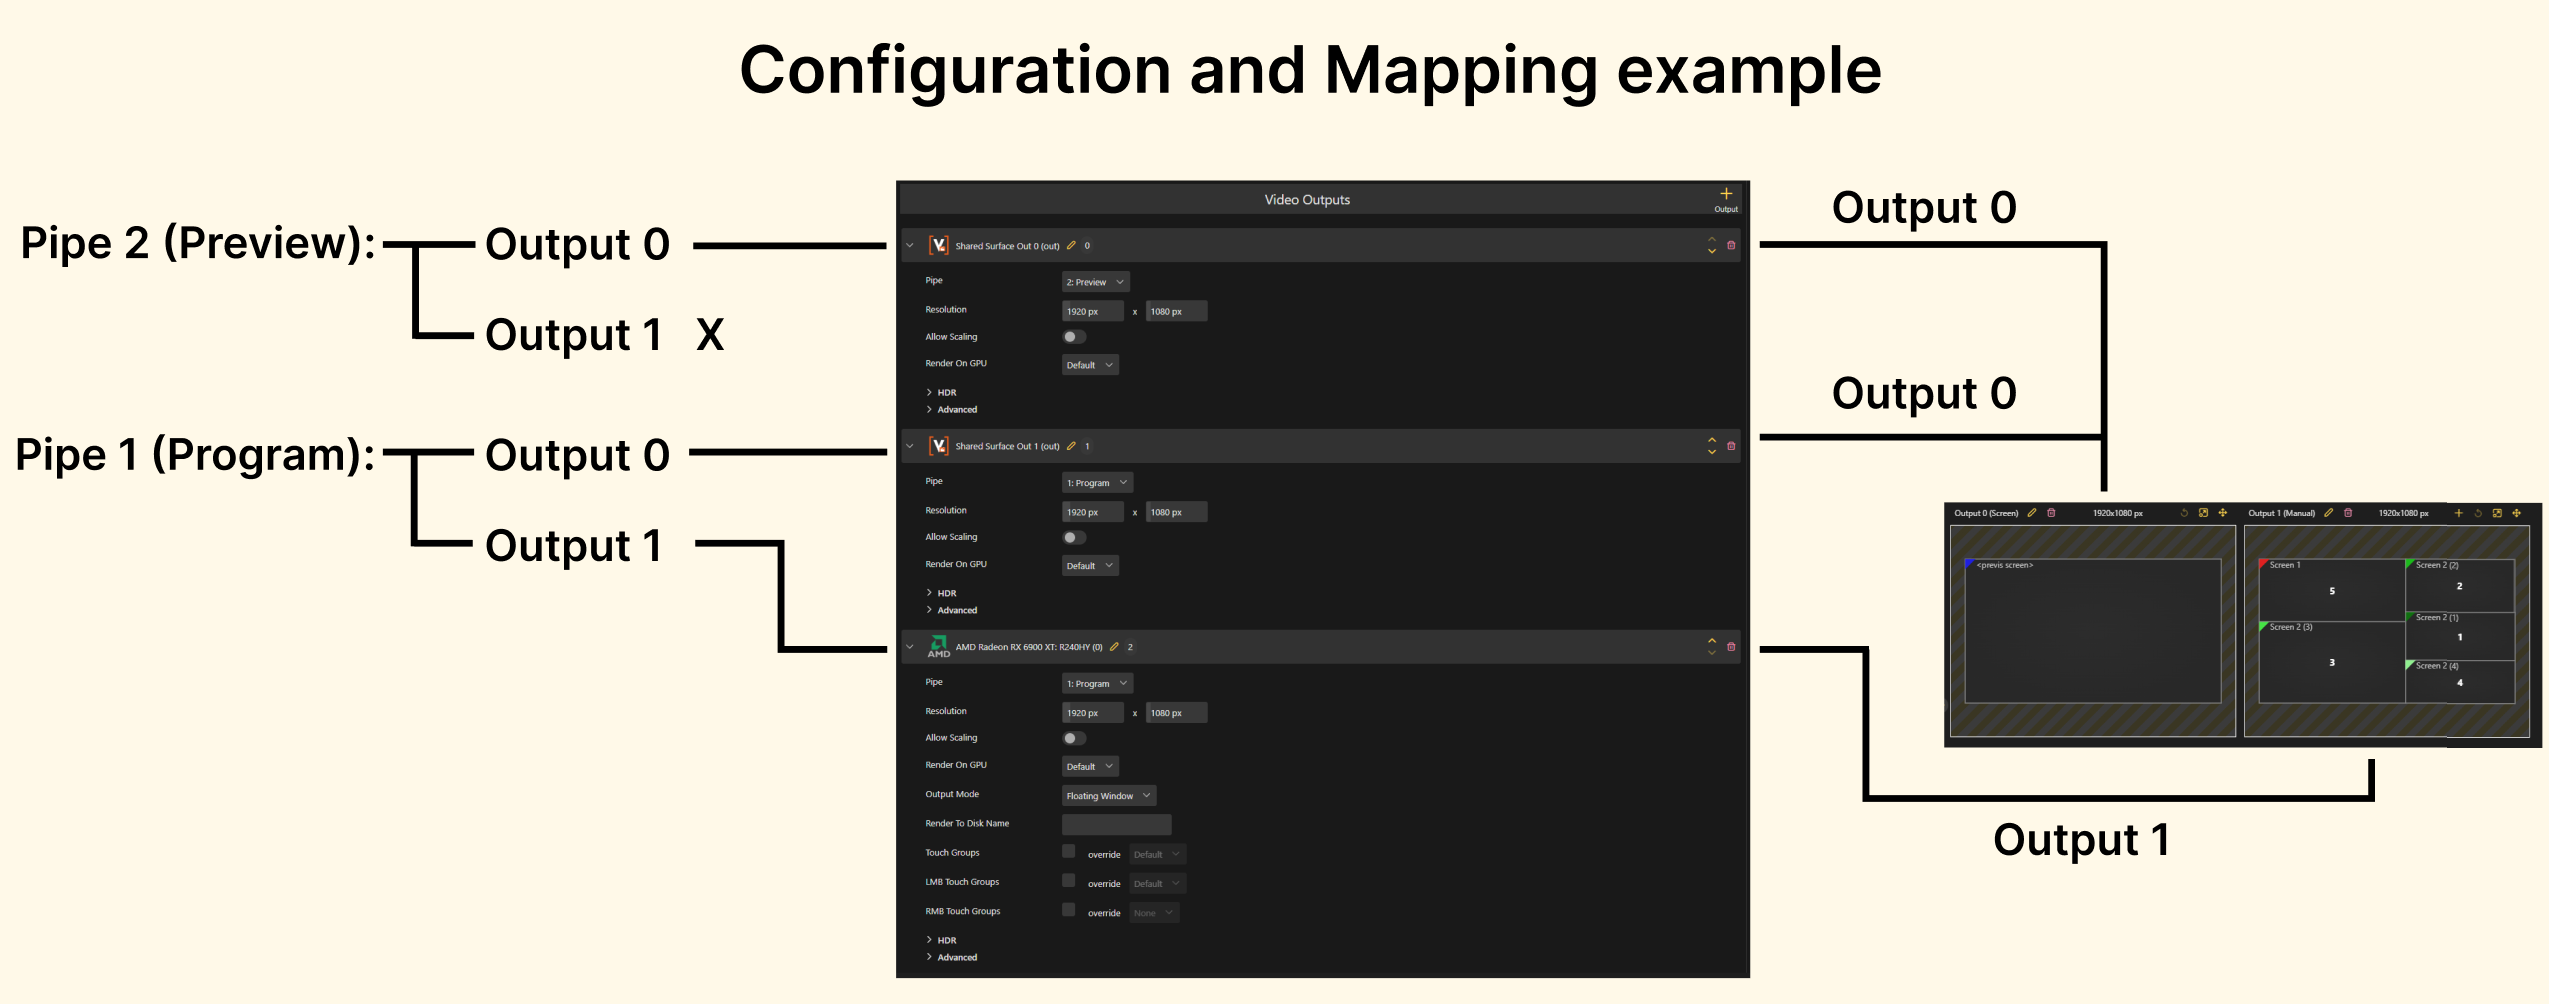
As you can see on the left every pipe will try to use two outputs if possible, thats why the position was so important. Any other other position would result in one output ending on a different pipe. The Mapping in the Render Setup also has to match the position in the Device configuration otherwise this would again produce a wrong result.
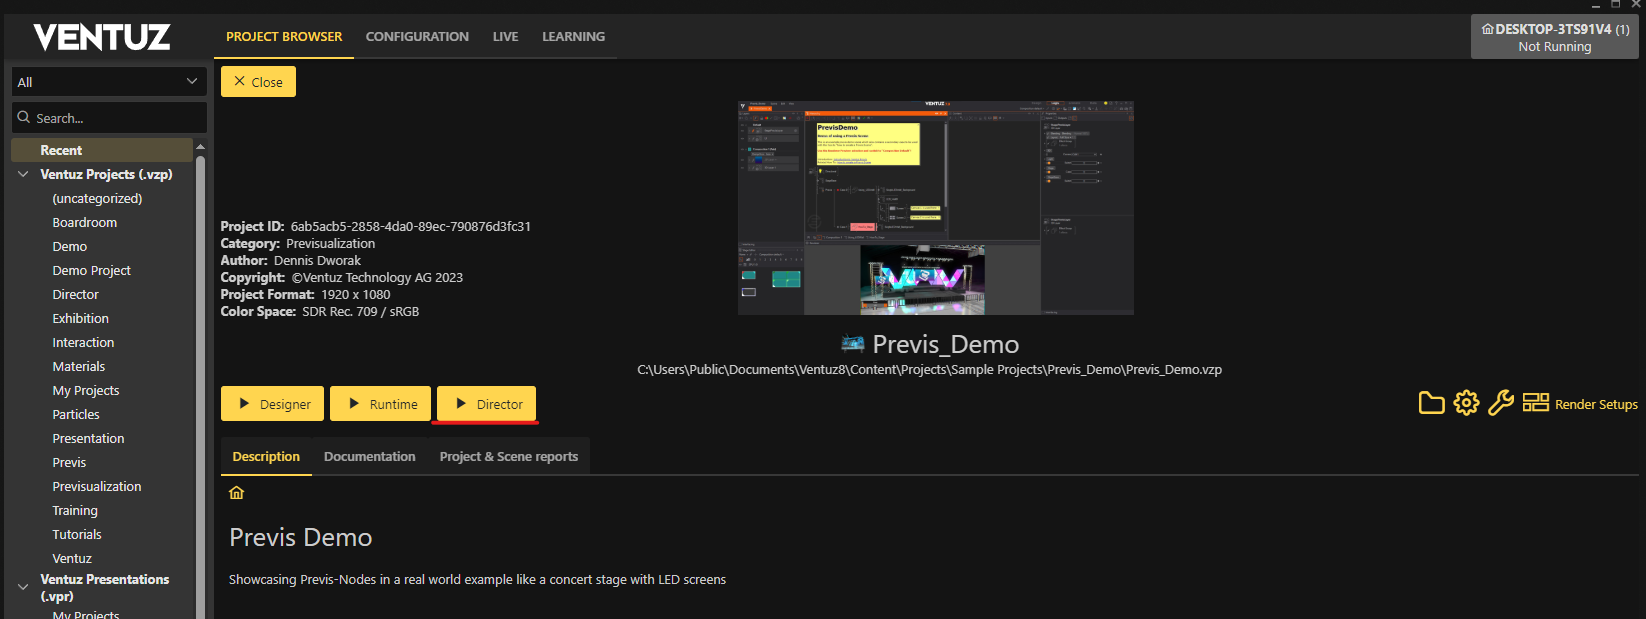
Starting the show
Make sure the Render Setup and Device configuration is active and then start the Director with the project.
And this is what you should see inside the Director
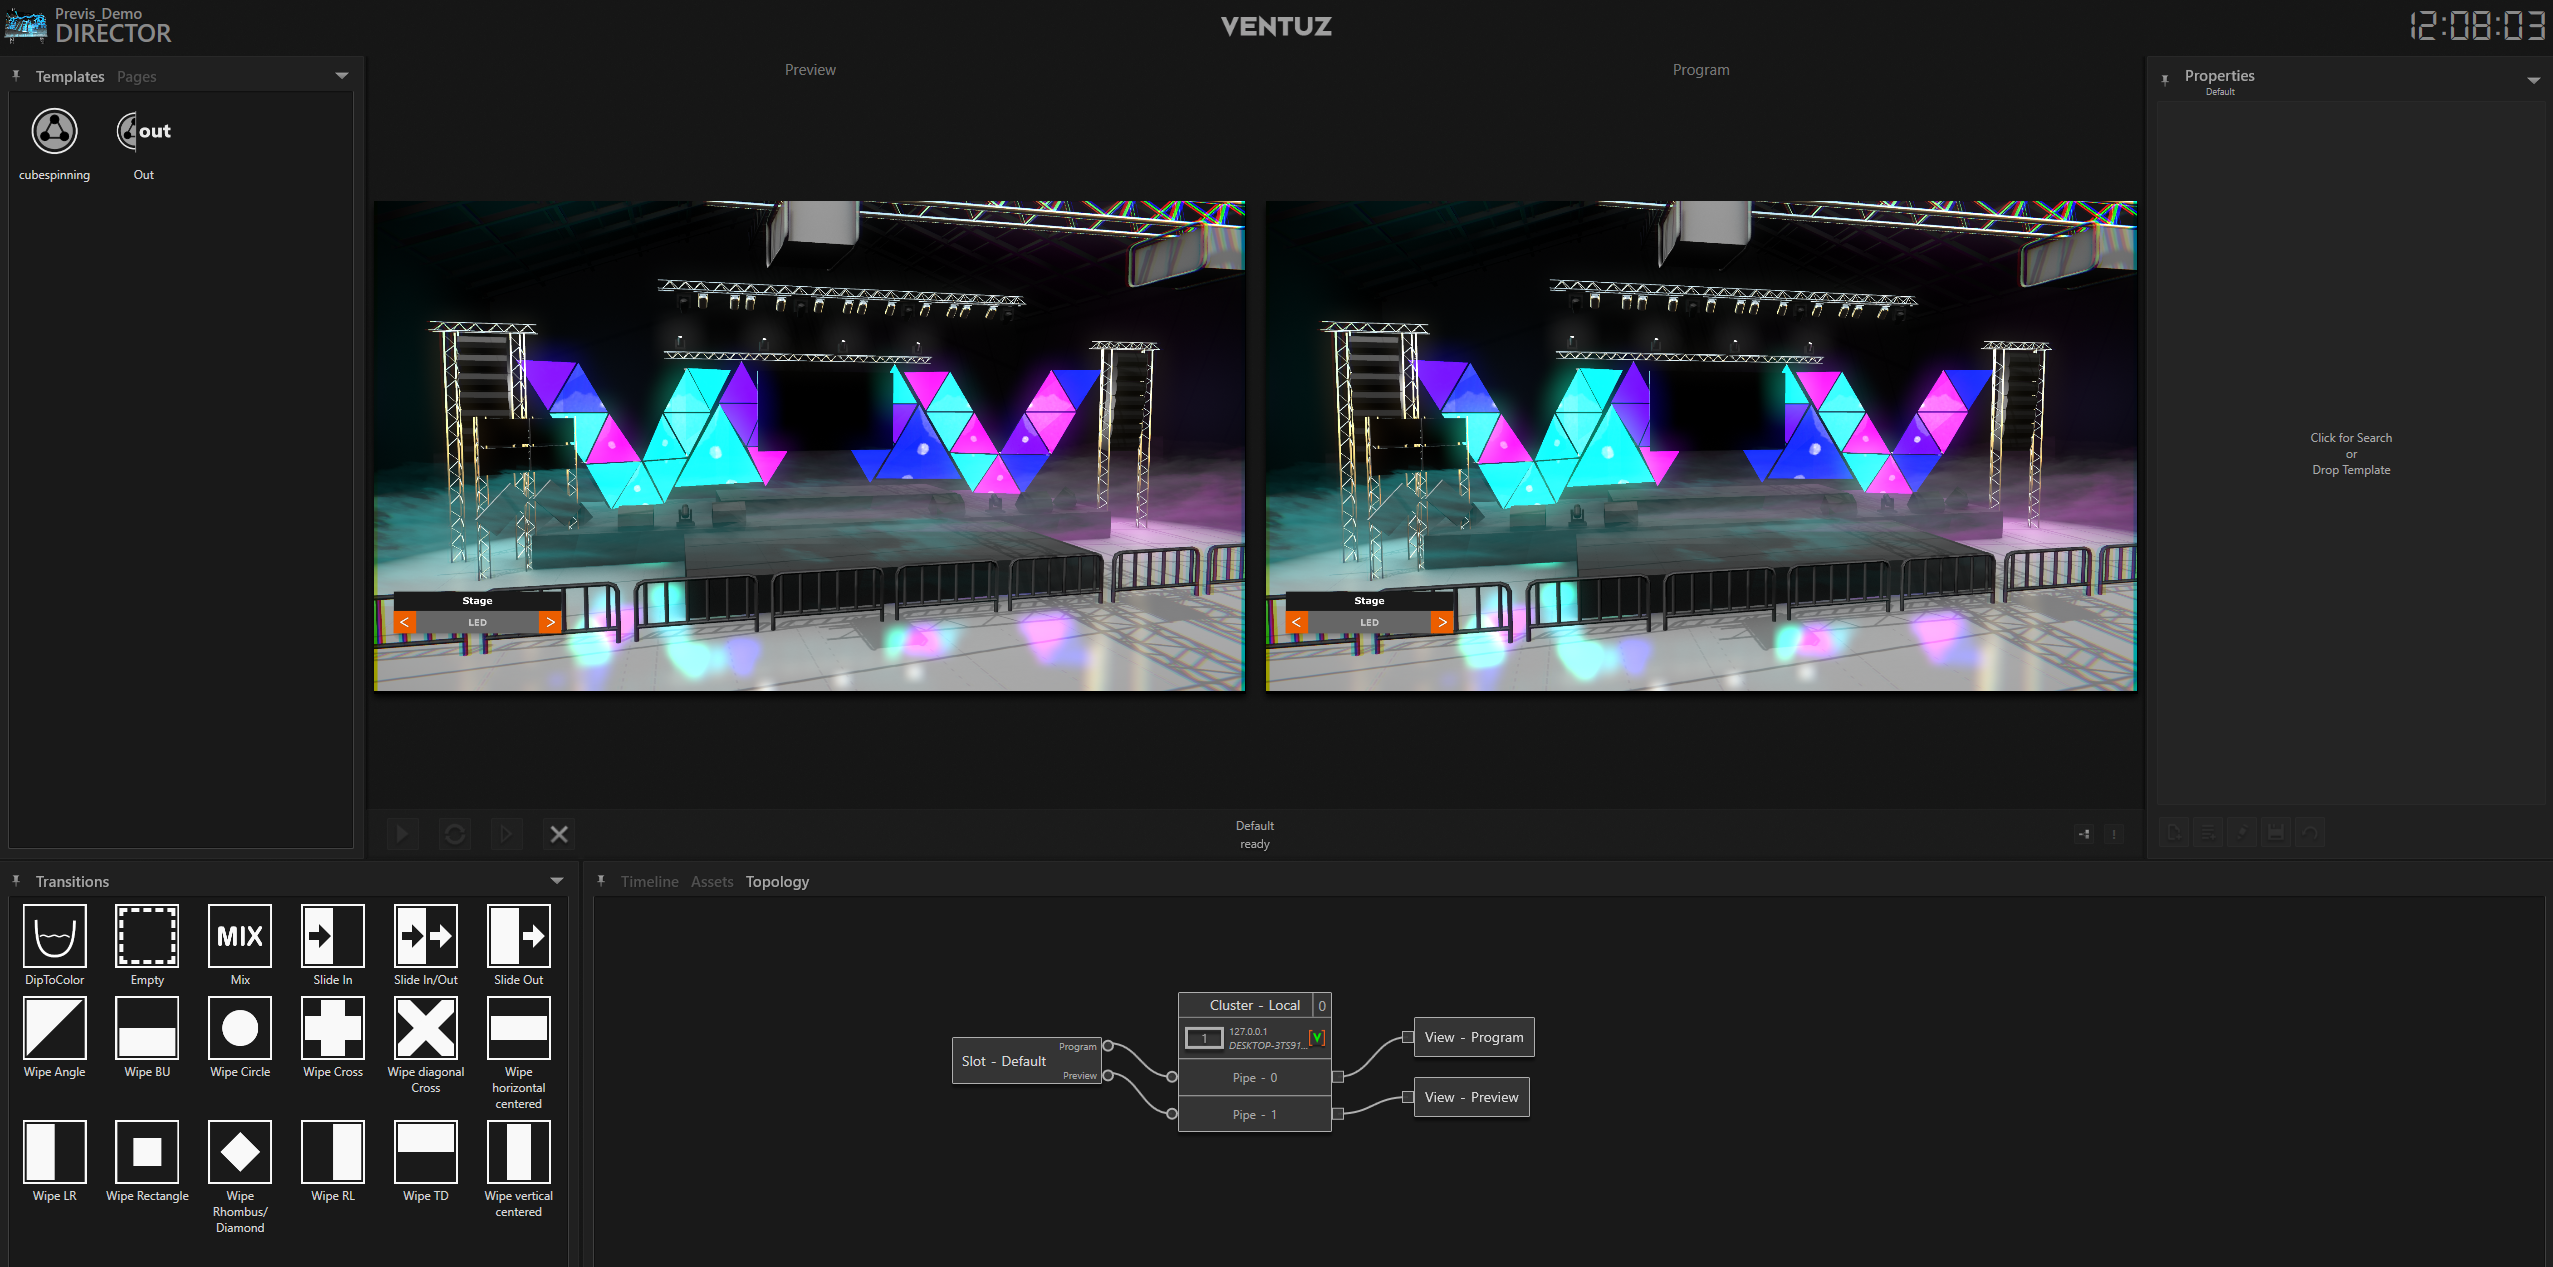
All thats now left to do is create some Templates. And since we prepared for a duo channel show we would need to create a Topology. If you want to do so head over here.