How To use the E2E with Notch
Table of Contents
This How To will guide you through the Notch Integration - E2E / "Engine to Engine", send and receive some very basic data from Ventuz to Notch and vice versa.
Introduction
You need a valid Notch License! - The Notch Trial does not support these features! The Notch PLE version works in Ventuz
If you use notch in a MGPU scenario make sure that every GPU has its own notch block assigned inside the .vee file even if not all GPUs are used.
With this How To, you will learn how the Ventuz Engine to Engine (E2E) integration in conjunction works with Notch. We will make use of the internal Notch Example Scene which was installed with Ventuz. You will learn how to easily expose values from Notch and use them in Ventuz. Because Notch includes all the necessary engine related files in their "Notch Blocks", there is no need to have Notch Builder installed for the first part of this how-to. You will need a Notch Dongle connected to your computer to enable Notch Blocks to run. Notch will automatically start Notch inside Ventuz when it is needed.
As mentioned, we will also work inside Notch to have some very basic things exposed, in this case you need to have Notch installed and a valid license.
The Notch Trial version will not work!
Preparation
Ventuz 6.12 or later is needed to support Notch Blocks inside of Ventuz.
An example Notch Block is included in the Ventuz Installer and is available on your system.
We need the example Notch Block to be copied into our project folder; an easy way to do this is to use the help scenes built into Ventuz.
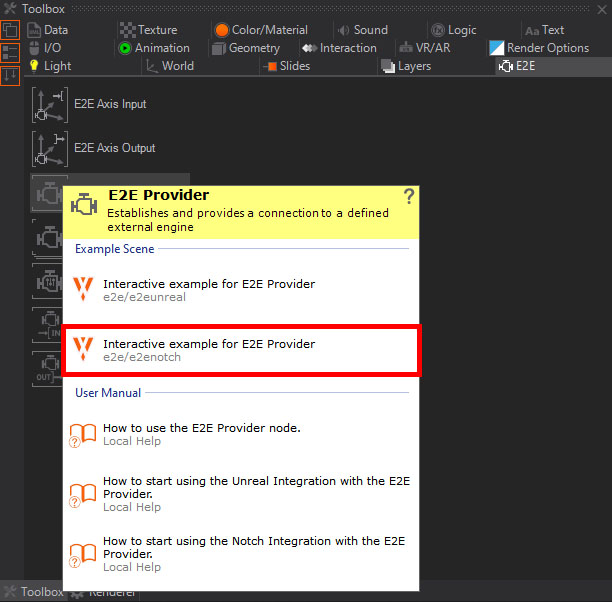
Create a new Project, name it for example, Notch E2E and create a new scene. Open the Ventuz Toolbox, click on the E2E tab. hover over the E2E Provider node, and press F1. This will show the contextual help options; click the Interactive Example for E2E Control for Notch:
A new scene will open. In the background, Ventuz automatically copied a the sample Notch Block to your current project folder and opened it. You can safely close the help scene.
The needed Notch block is now copied in your project location and can be found in: YOURPROJECT/E2E/NotchProject/
We created a project called E2E Notch in the default location. Therefore we will find our ExposedExample_64bit.dfxdll inside the NotchProject folder:

Whenever we reference to load the Notch Example Block, it can be found there.
Running a Notch Block
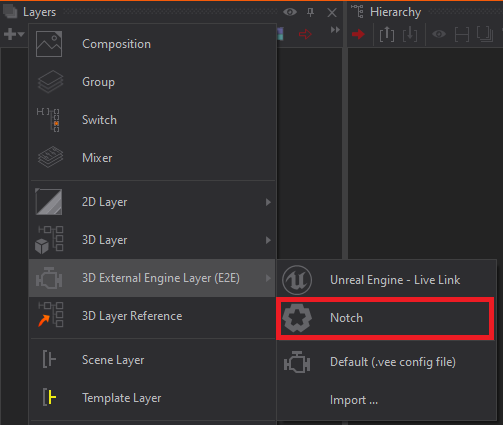
Add an E2E Notch Layer. To create the layer, click on Layer -> 3D External Engine Layer -> Notch
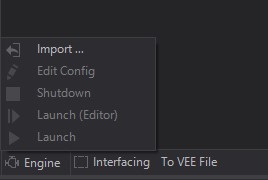
Now select the newly created Notch Layer by click it. In the lower part of the Layer Editor you can click Engine and select Import:
A new File Open dialog will pop up and there you can browse for an existing dfxdll. For now we browse to our Notch Example folder we created here and load the ExposedExample_64bit.dfxdll.
Because the Example Block was installed with Ventuz as a .vee file, it will ask you to overwrite the existing one. It is safe to overwrite the original file!
This Notch Block has been officially made by Notch and ensures that the integration will work with Ventuz. The Exposed Example Block has exposed values and an exposed camera, that can be controlled by Ventuz.
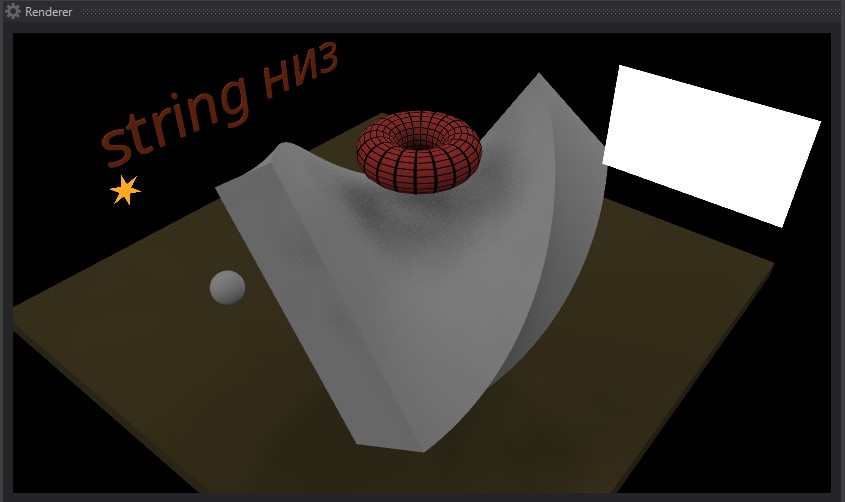
As soon as the Notch Block is successfully loaded, you will see its content rendered:
Accessing Exposed Parameters
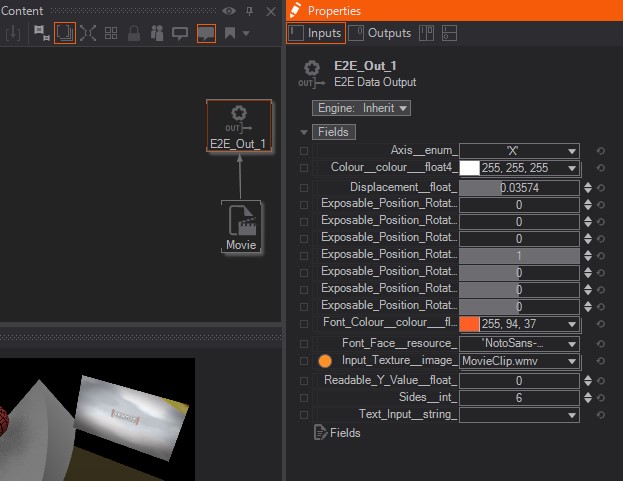
Now that we have a Notch Block loaded, we want to access its exposed parameters. The example Block has several exposed parameters besides the camera. Some parameters include strings, colors, texture, and position values are available.
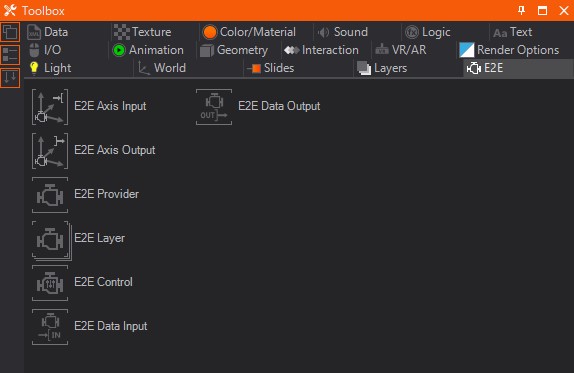
To access these exposed values we need to make use of the E2E Data Output Node. The E2E Nodes can be accessed trough the Toolbox or using the Alphabetical Searchbox:
Select the Notch Layer and drag&drop the E2E Data Output Node into the Content Editor. Ventuz can automatically synchronize all of the Notch Block's exposed parameters. Simply click the Sync Fields which can be found at the bottom of the Property Editor:
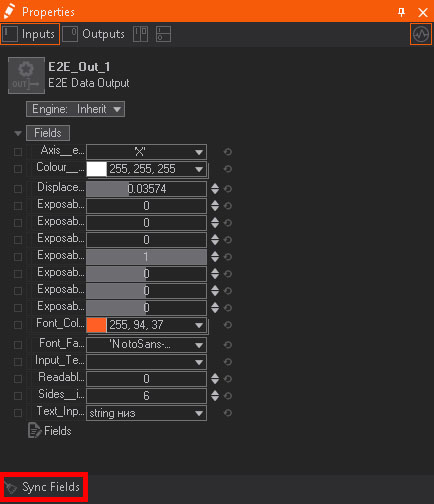
The above screenshot shows the synchronized fields.
Now you can bind the exposed values as you would with any Ventuz Scene. This example covers most of the available types such as strings, floats, integers, color and so on.
Whenever you press Sync Fields, all bindings to the E2E Data Output will be lost/deleted!
Control a transformation with an E2E Axis
For these steps, you will need to have Notch Builder installed and have a valid license on your computer.
Use the E2E Axis Output Node to control an exposed property; in our example we'll be moving the torus from inside of Ventuz. All we need to do is fetch the Unique Identifier from Notch.
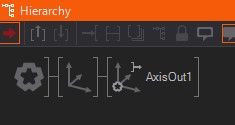
Select the Hierarchy Editor and create an Axis. Create an E2E Axis Output Node - either by drag&drop the E2E Axis Output Node from the Toolbox or using the Alphabetical Selection, behind the Ventuz Axis.
Open the Notch editor and load the ExposedExample.dfx and find the property for the Exposable Null for the torus. Select and copy the whole Unique Identifier line into the clipboard using ctrl+c or click and chose Copy.
Now go back to Ventuz Designer, select the E2E Axis Output Node, doubleclick the Axis to rename it and paste the copied Unique Identifier to replace the name by using ctrl+v.
The scene will look similar to this:
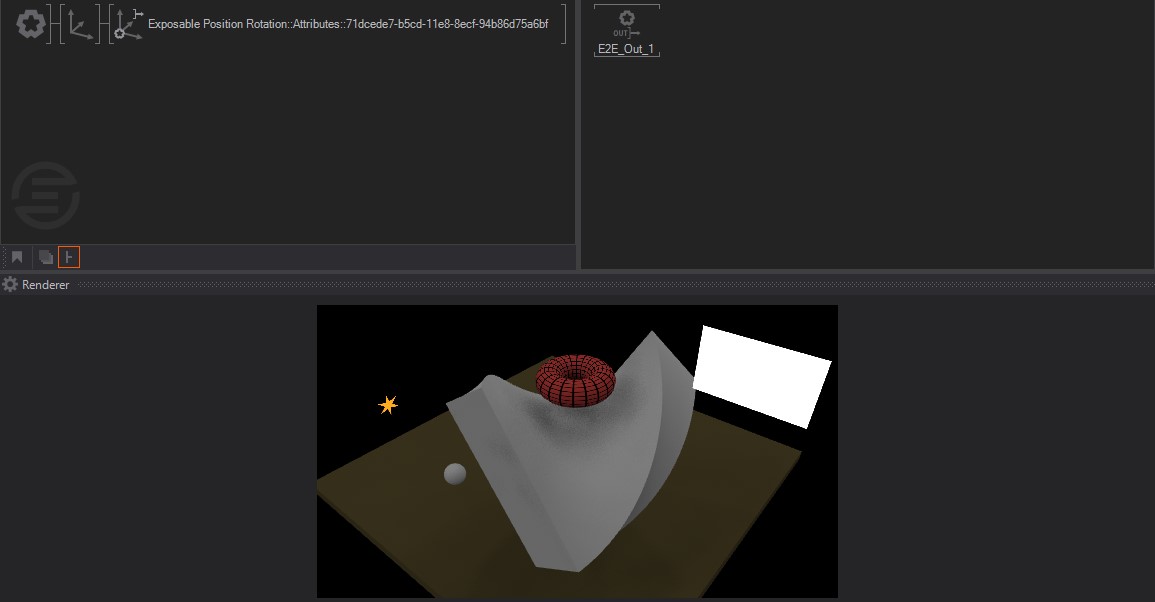
You can now change the values for translate XYZ, for the Ventuz Axis, and the torus will move according to your changes in real-time.
This way you can directly access and change all exposed values from within Ventuz.
Send a Texture or Live Video to Notch
From within Ventuz, it is possible to send textures to a compatible Notch Block like live video, images and movies. With the example scene you can simply create a binding from the output, of a movie clip node, to the Input_Texture__Image_ of the E2E Axis Output Node:
Keying / Alpha Blend
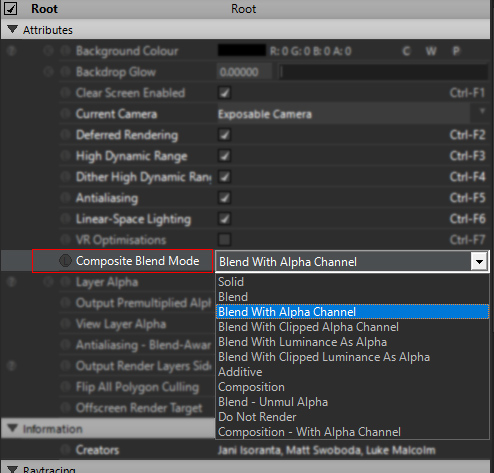
Keep in mind, that the Composite Blend Mode will be disabled by default for any custom made Notch Block. Therefore, if you plan to have your Notch Block blend with another Ventuz 3D layer or another Notch Block, you will need to change the Composite Blend Mode from within Notch before you compile the Block for a media server. You will find this setting in the Notch Root properties -> Composite Blend Mode
Running Notch on Multiple GPU's
In order to make Notch work on multiple GPU's you have to give every GPU its own notch block. For this simply copy the Notch block as often as needed and assign it to the GPU's separately.
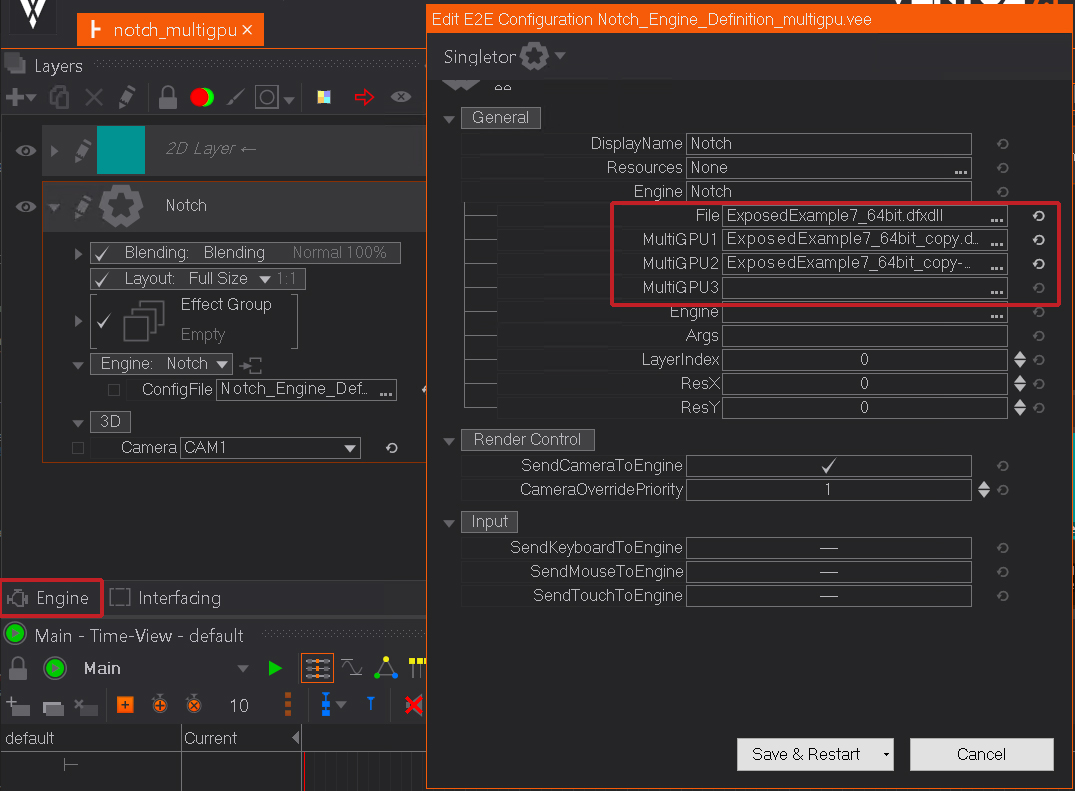
To access the menu click on a Notch layer and find the "Engine" button in the lower left corner of the Layer Editor.
The "File" property is in fact MGPU 0 so always start with that. And make sure that every GPU, even if not used, has its own Notch block!
Supported Versions
We support Notch version 0.9.23 and below.
Conclusion
As you can see, the Notch integration can be very handy when it comes to interacting with Notch. As long as the Notch block provides you with exposed parameters, you can easily integrate a Notch block into your Ventuz scene and logic. Bidirectional communication is also possible. You leverage this dynamic communication from within Ventuz to modify and feed this data into Notch and combine the two engines to deliver absolutely stunning content.
The communication/synchronisation between Ventuz and Notch happens in the same frame and Notch Blocks run in the same thread as Ventuz; making for a seamless integration to both the operator and the viewer.