Text Rendering
Table of Contents
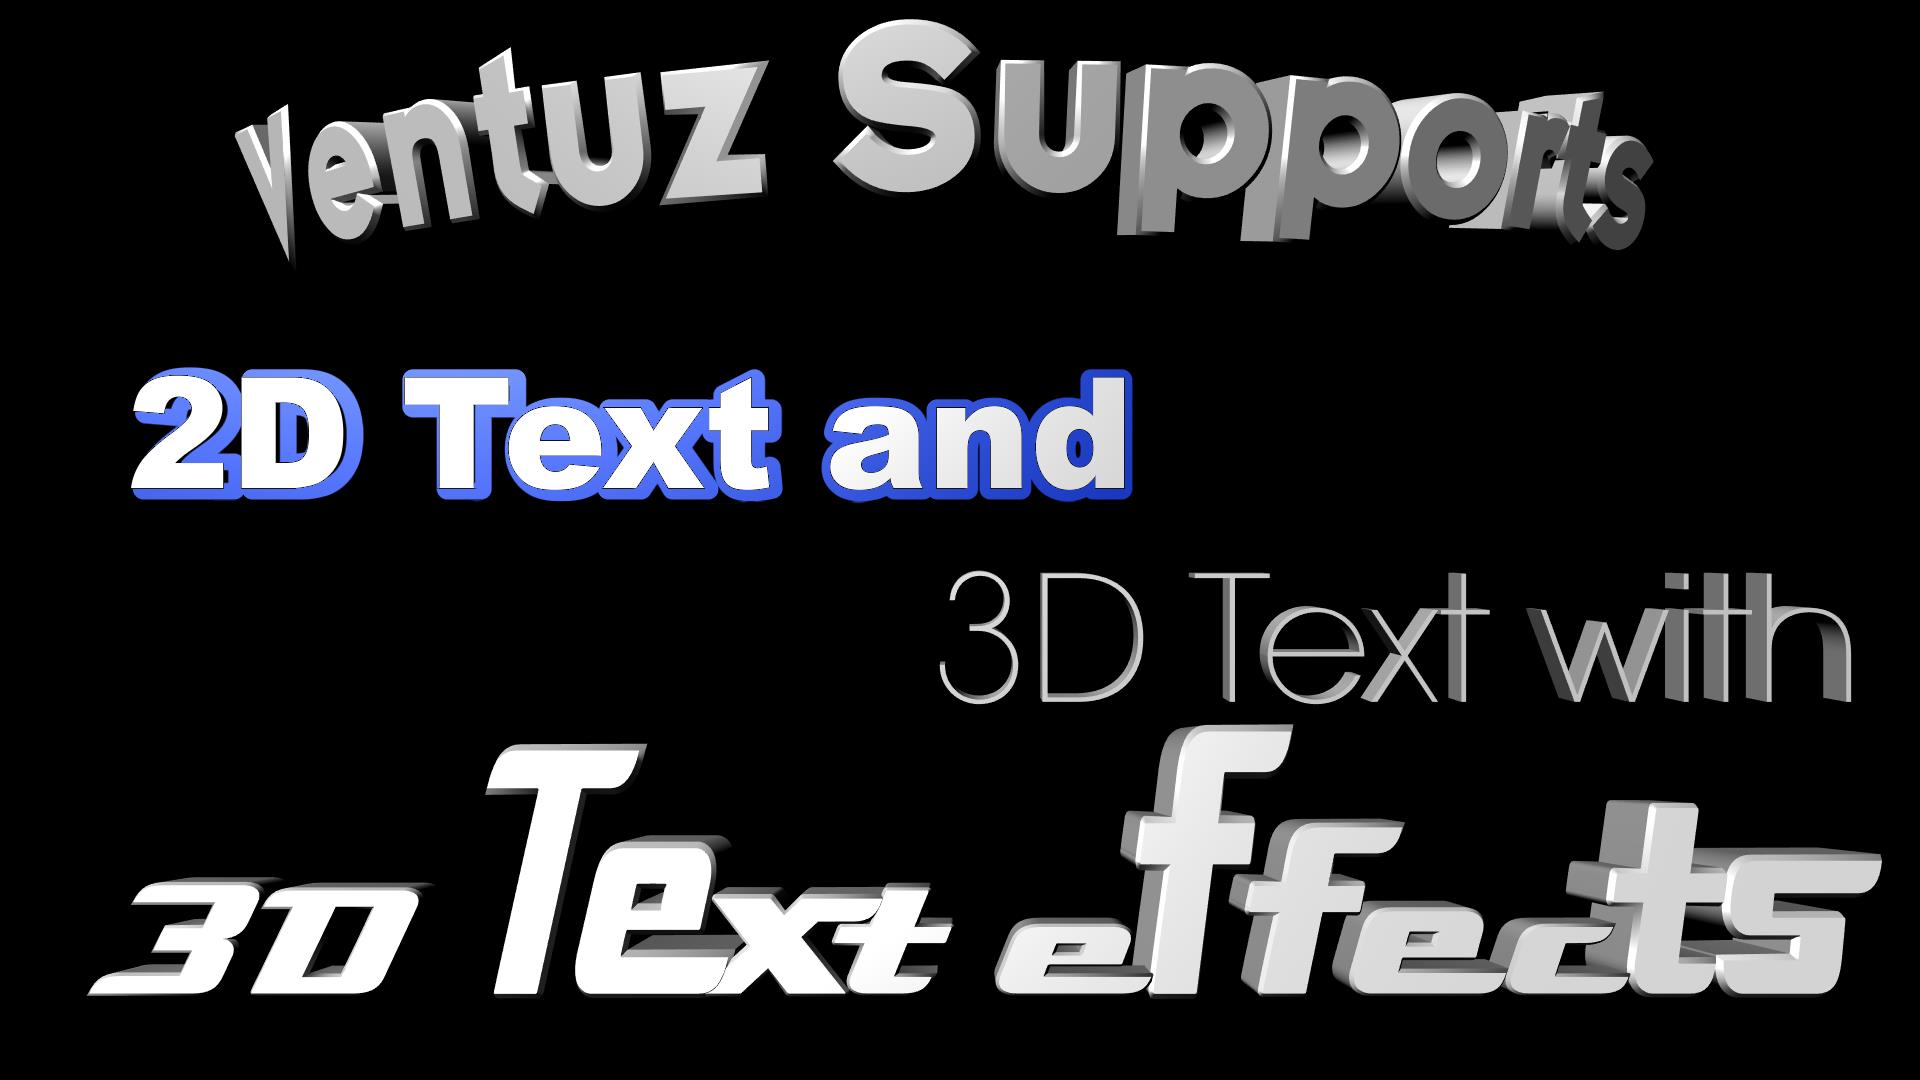
Ventuz supports several ways to display text: 3D Texts built from polygons, 2D Texts in low quality and 2D Texts with smooth edges. This page will show you how to render text in Ventuz, how to provide it with content and what features are there to customize their appearance.
Introduction
Ventuz provides a wide range of Text Effects and rendering styles. The modular structure of Ventuz offers the possibility to combine different effects and styles, resulting in virtually countless possibilities of displaying and animating text. The following sections shows the Project-specific font handling. The description of the text-related nodes can be found in the Text Rendering and Text Effects section.
Text nodes and Text effects

There are two different text nodes with three different modes to be found in the Designer.
The 2D Text node with the
mode.
And the 3D Text node with the
mode.
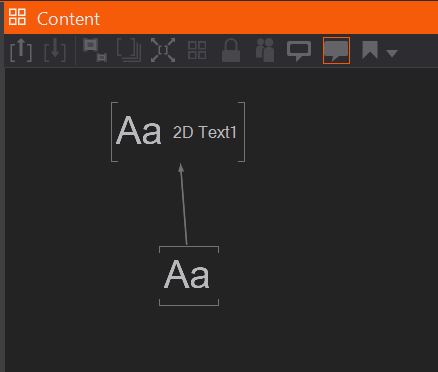
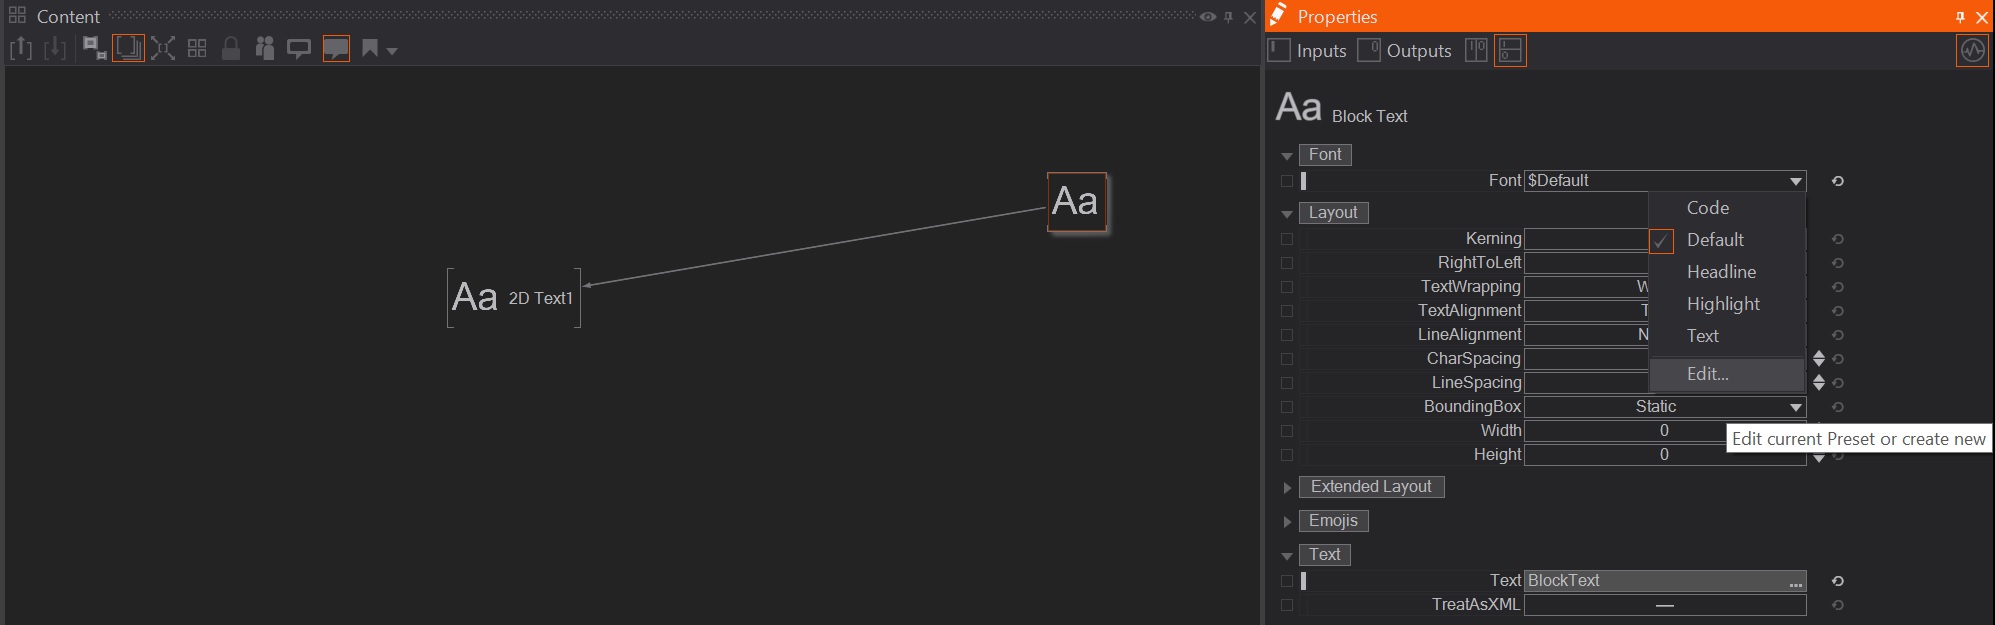
Each of these when placed into the hierarchy editor will generate two nodes into the content editor. You can see those by clicking on the node in the hierarchy editor.
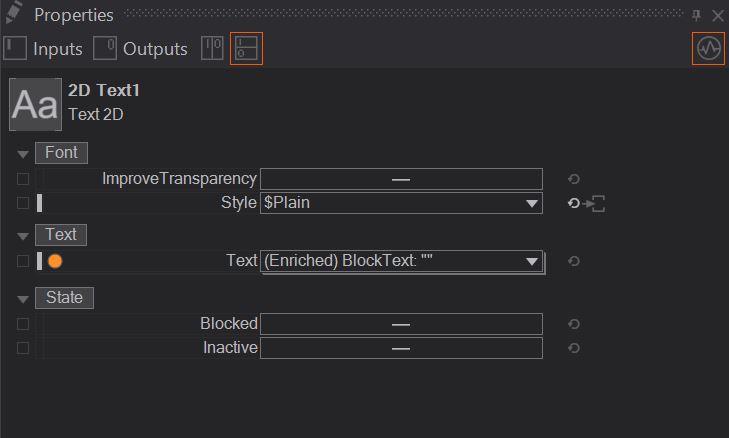
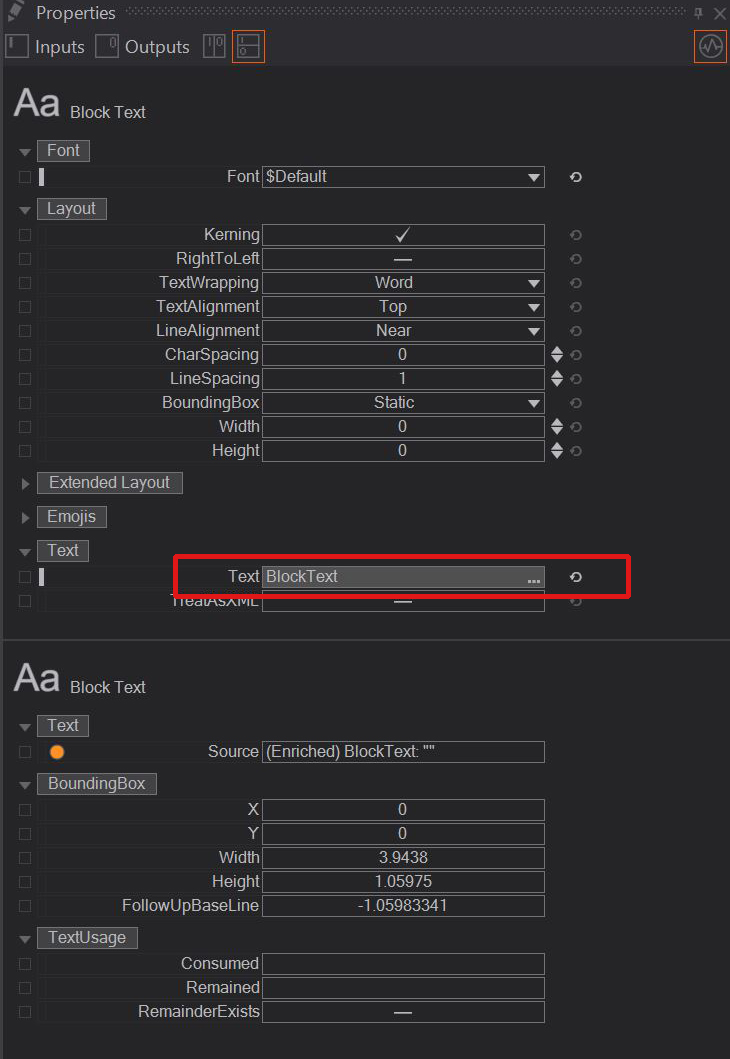
The general text node collects all information from the block or enriched text node and renders it out. This node also holds the properties to change the style, improve transparency and so on. In case of the enriched and block text node, it holds the most important property to change the text displayed. As well as many different layout functions.
In order to use Text Effects nodes you can just drag and drop them on to the binding between the two text nodes, and change the properties to your liking.
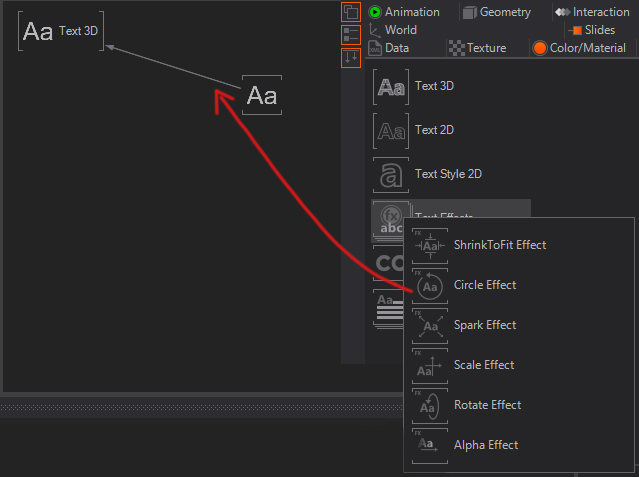
For a more in depth guide on this effects and layouts go visit those sites:
Font Typeface Editor
There are two ways to reach the typeface editor, either trough the properties of the text node by hitting edit
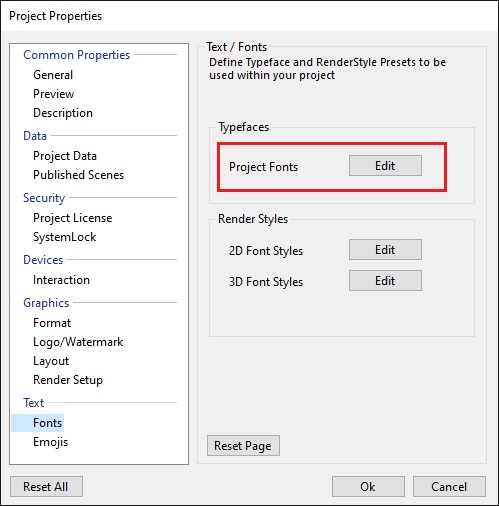
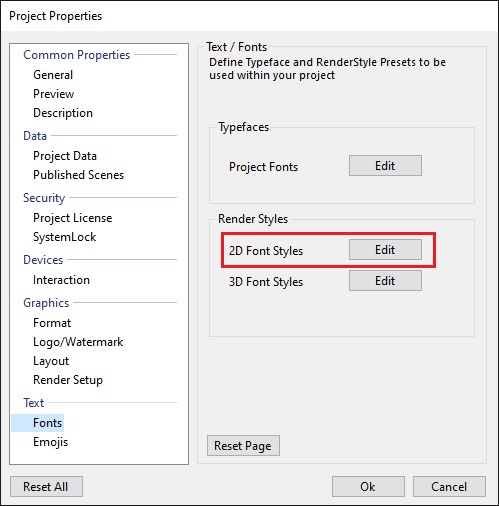
or by going into the project settings and clicking on project fonts.
 The Typeface Editor manages all fonts and font presets in a project. The editor consists of two font browsers, one for Project fonts and one for System fonts. The latter are fonts which are installed on the local machine. The browser lists all fonts alphabetically. Default/Standard fonts which are present on every new Windows 10 installation are displayed in black. All other fonts are marked red.

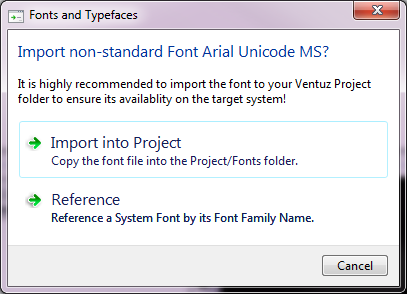
It is recommended to import non-standard font files into the Ventuz project folder to make sure that exported Presentations will have access to all necessary fonts if started on different machines. Ventuz automatically prompts the user to import such fonts. This import can be avoided but this is not recommended.
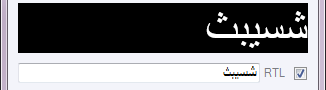
To display those languages (e.g. Arabic and Hebrew) correctly which have a right-to-left writing direction, enable the RTL option below text preview window.
Turning on the Show Simulated Styles option expands the list of all fonts available by those which can be simulated by GDI/Windows Presentation Foundation. These styles are not part of the font files and are calculated mathematically and therefore may not meet the quality criteria of designers. Simulated styles are marked with an asterisk (*).
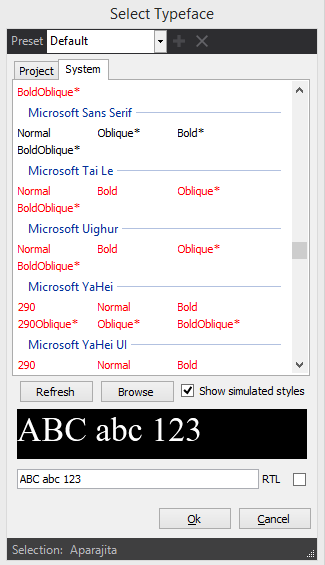
The Refresh Button updates both the Project as well as the System font list.
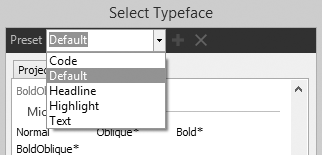
Font and Style Presets
Ventuz provides the possibility to define Font and Rendering Style Presets which are valid within all scenes of the project where the preset was defined. This makes it very easy to change a font or style scene-wide or even project-wide. The presets are stored as part of the Project Properties in the .VZP file. The Font Presets are defined and managed in the top area of the Font Typeface Editor. The Rendering Styles are defined and managed in the Texture and Mesh Font Style Editors. The following text describes the handling for Font Presets, the approach for the Style Presets is the same.
Presets stored with the project are displayed in black.

Existing presets can be selected from the drop down menu. Presets can be deleted by selecting a preset from the drop down menu and pressing the Delete Preset button. Nodes which were referencing the deleted preset will retain the name and settings (Typeface, Style) of the preset. Should the preset be recreated or be available from within another project, these nodes will automatically reference the new preset.
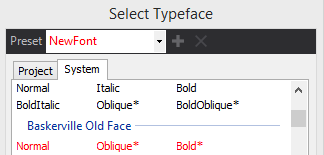
Modified presets will be marked with an asterix (*) behind the preset name. By pressing the Save button, the preset is saved and all nodes referencing this preset will be updated.

New presets are created by simply entering a new name. The name will be marked red, indicating that the preset name has not been stored with the project presets yet. Pressing the Add Preset button will store the new preset with the Project Properties.
Finally these presets can be accessed from the Text Rendering and Layout nodes.
Font style customization
2D customization
In order to customize the different styles that come with the 2D text node you can either extract a node from the text node to further refine the effects, or as mentioned above, by opening the Project Properties and going to the font settings, then click on 2D Font styles.
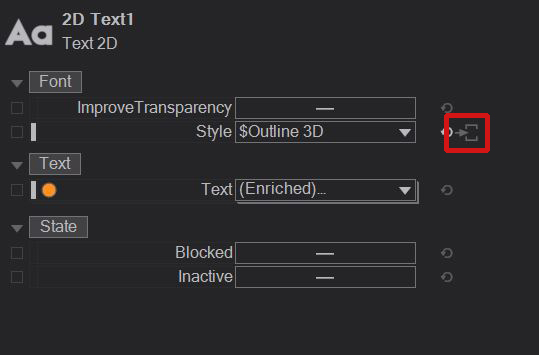
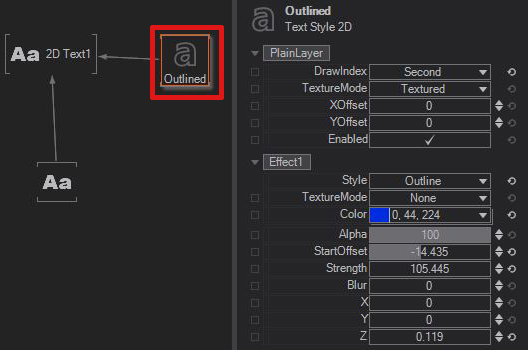
To extract those settings and working with a node instead, choose a style and hit the small button beside the property.
This will give you a node with all properties that you would also find in the project settings.
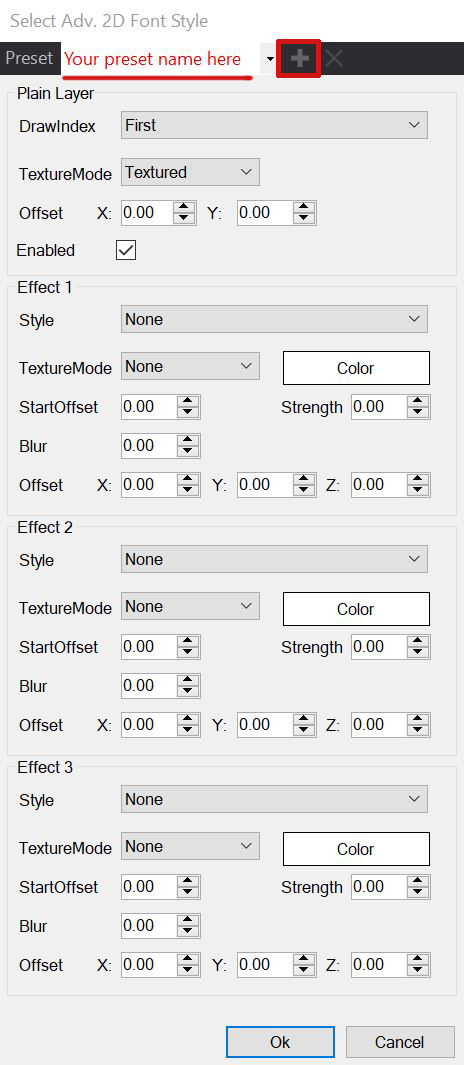
But changing those settings in the Project properties will give you the opportunity to safe the settings in a preset to be able to load in other scenes as well. While being in the project font settings you will find a drop down menu on the top of the window. There you can just type in a new name and click on the small plus.
These presets are only saved for the project they are made in. And therefore are not available in other projects. Note that changes made in the project properties, will only be visible after you hit Ok.
3D customization
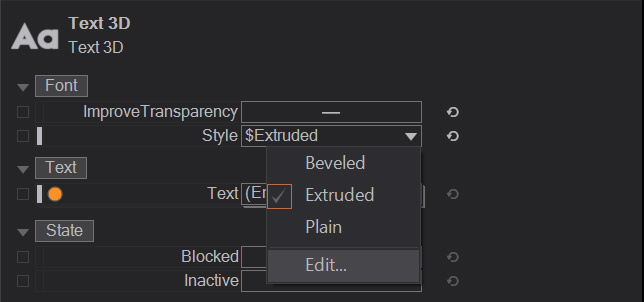
For 3D customization there is no extract necessary. Here you simply hit edit in the style dropdown menu and customize your font.
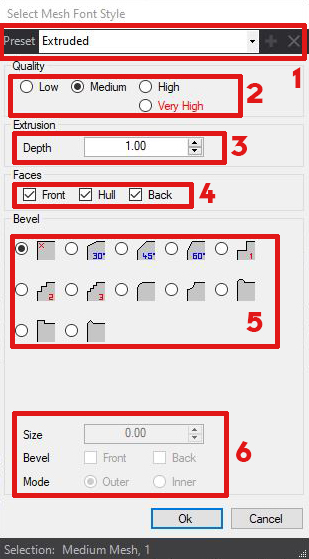
- 1. Preset Menu:
- Here you can save new presets by simply typing in the name you want. The small + adds a new preset. And with the X you are able to delete them. After saving, those presets are found in the dropdown menu.
- 2. Quality setting:
- Determines the quality of the 3D mesh for the rendered text.
- 3. Extrusion setting:
- With the depth value you can change how far the text is extruded along the Z axis. A higher value equals a greater extrusion.
- 4. Faces setting:
- Here you can choose which parts of the text should be created. E.g: Leaving only the front checked will only render the front cap of the text. This is especially helpful if you want to have different materials on different parts of the text mesh.
- 5. Bevel setting:
- With the beveling function you can change the edge style of the text.
- 6. Advanced bevel settings:
- Here you change the size of the bevel selected, and if a bevel should be applied on the front and the back. With the mode function you can invert the effect.
Note that you can only see the changes after you clicked Ok.